What You Need
- Windows Explorer — built in, no install needed
- A text editor: Notepad works for small edits; VS Code or Notepad++ are much better as they show XML in a readable indented form. VS Code also requires the XML extension by Red Hat (free, in the Extensions marketplace) to enable formatting and validation.
- A copy of your XLSX or XLSM file to practice on
sharedStrings-v1.xml, sharedStrings-v2.xml) so you can step back to any point.
Step 1: Rename the File Extension to .zip
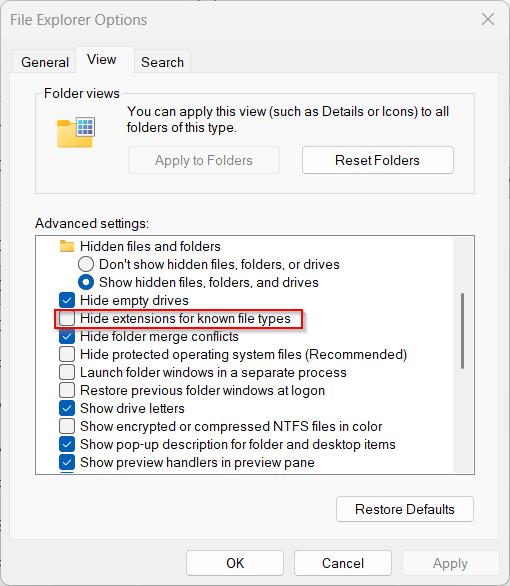
Open Windows Explorer and navigate to your file. If you don't see the .xlsx extension in the filename, turn that on first.
To show file extensions: Go to View in the Explorer toolbar, then check File name extensions.
Right-click your XLSX file and choose Rename. Change .xlsx to .zip and press Enter. Windows will warn you the file may become unusable — click Yes.
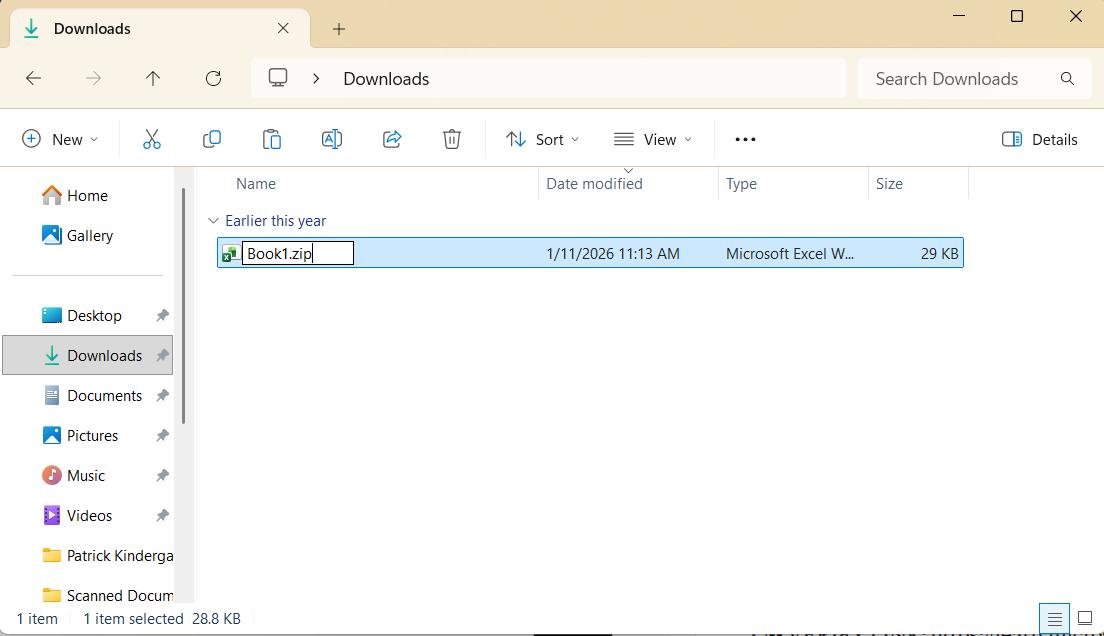
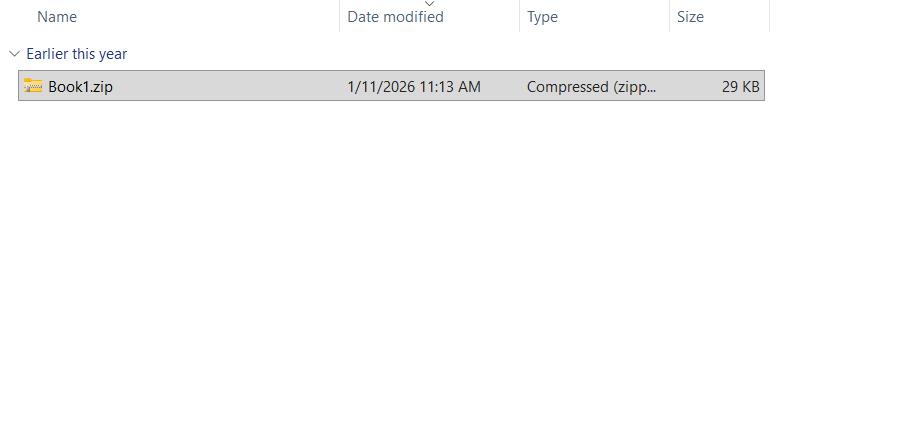
The file icon changes to a folder-with-zipper. The file itself has not changed at all — you only changed the label.
Step 2: Open the ZIP and Navigate the Contents
Double-click the ZIP file. Windows Explorer opens it like a folder showing the internal structure.
![ZIP file opened in Windows Explorer showing [Content_Types].xml, _rels, docProps, and xl folders](/img/guides/ZipEdit-ZipOpenedContents.jpg)
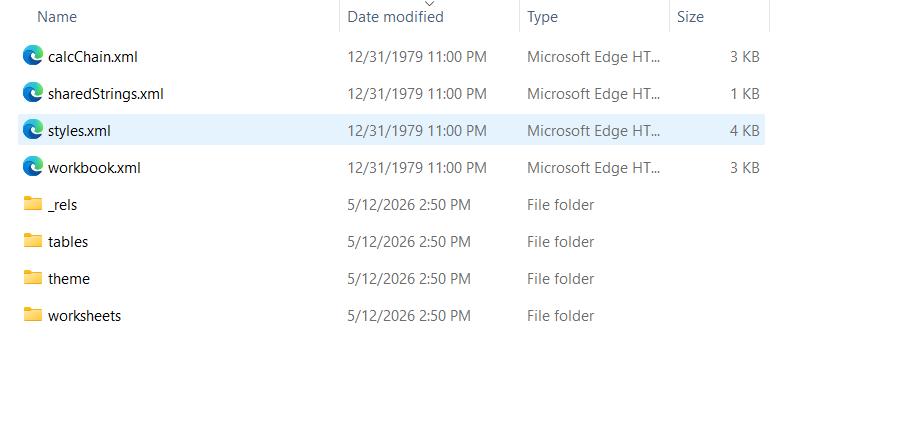
The important files are inside the xl folder. Double-click xl to go deeper. You'll see workbook.xml, sharedStrings.xml, styles.xml, and a worksheets folder containing sheet1.xml.
Step 3: Extract Only the File You Want to Edit
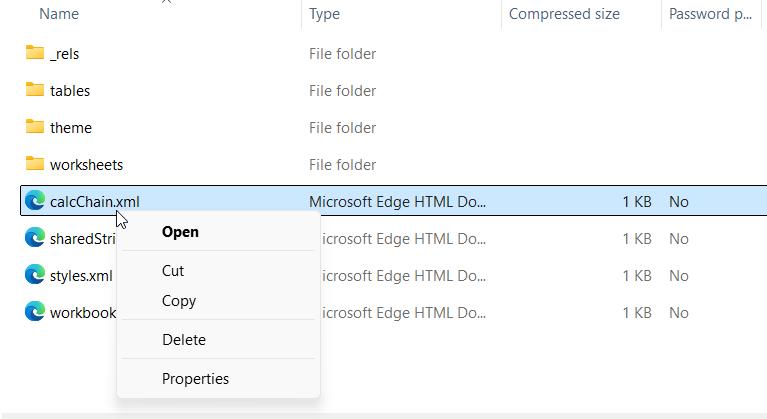
Find the specific XML file you need to change. Right-click it and choose Copy, then paste it somewhere easy to find — your Desktop works well.
Open the copied file in your text editor. Make your changes and save.
Step 4: Put the Edited File Back
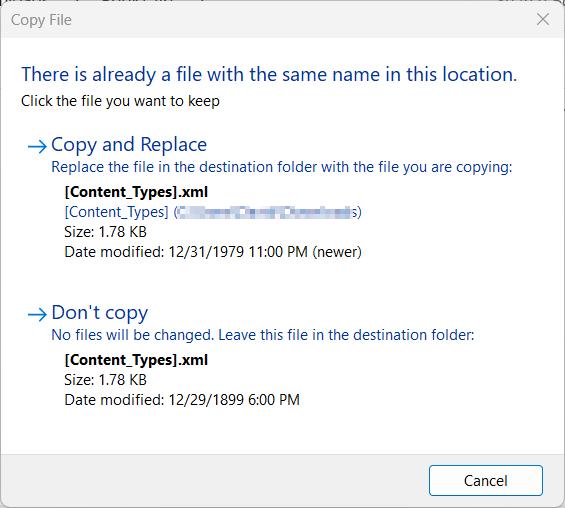
Go back to your ZIP file in Explorer. Navigate to the folder where the original XML file lives. Drag or paste your edited file into that location inside the ZIP. Windows will ask if you want to replace the existing file — click Yes.
Step 5: Rename Back to .xlsx
Right-click the ZIP file and choose Rename. Change .zip back to .xlsx. Click Yes at the warning.
Open the file in Excel and verify it works cleanly.
The Nested Folder Problem: Read This
This is where most people break their file. Here is what happens.
Some guides tell you to extract the entire ZIP, make your edits, then select all the files, right-click and choose Send to > Compressed folder. If you do this from inside the extracted folder, Windows creates a ZIP that looks like this:
YourFile.zip
  └── YourFile/          ← extra folder wrapper
        ├── [Content_Types].xml
        ├── _rels/
        └── xl/
When you rename that back to .xlsx, Excel sees the extra folder layer and rejects the file — the format requires files to sit at the root of the ZIP with no wrapper.
The correct structure is:
YourFile.zip
  ├── [Content_Types].xml
  ├── _rels/
  └── xl/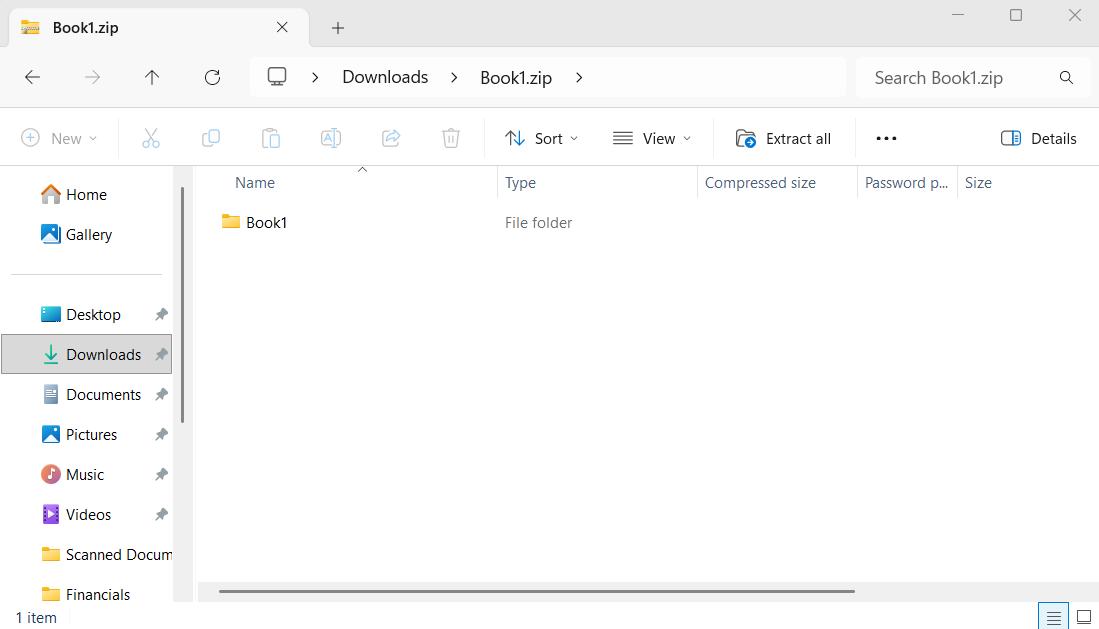
If you do need to re-zip from scratch (for example after adding a new file), use 7-Zip (free). Right-click inside the extracted folder contents — not the folder itself — and add to archive. Or use the command line:
cd "C:\path\to\extracted\contents"
7z a -tzip ..\MyFile.xlsx *
The * selects everything inside the current folder rather than the folder itself, producing the correct flat structure.
Verification Step
After renaming back to .xlsx, open the file in Excel.
- Opens cleanly with no prompt — you're done.
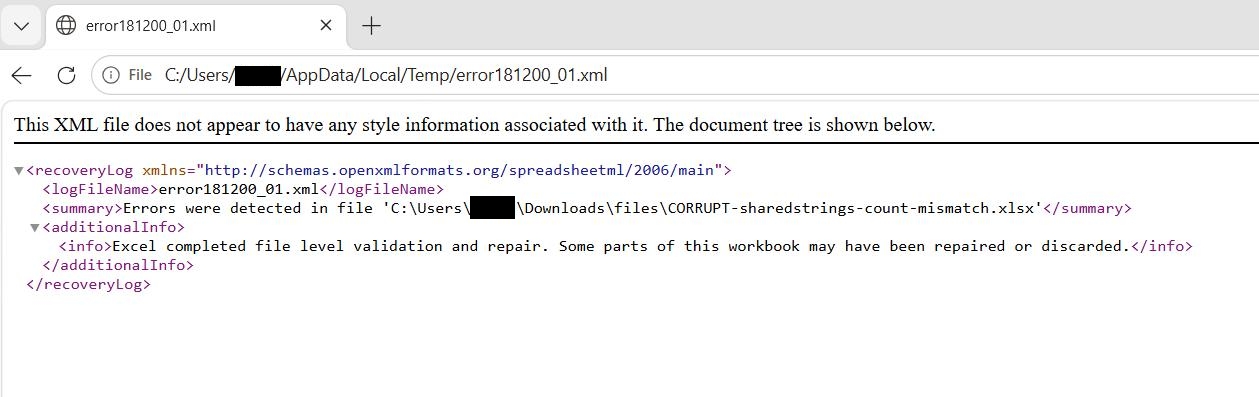
- Excel says "We found a problem with some content" — your XML edit introduced an error. Click Yes to let Excel repair it, then check the recovery log to understand what was removed.

The recovery log is saved in C:\Users\[YourName]\AppData\Local\Temp\ and named something like error086040_01.xml. Open it in a browser to read what was removed — the line numbers it reports are your starting point for finding the error in your XML edit.